
PC Matic is a comprehensive security and optimization software designed to keep your computer running smoothly and securely. If you encounter issues with PC Matic or need to reinstall it for any reason, this guide will help you through the process step by step.
Step 1: Uninstall PC Matic

Before reinstalling PC Matic, you need to remove the existing version from your computer. Follow these steps:
Open Control Panel:
- Press Windows Key + S and type "Control Panel".
- Select "Control Panel" from the search results.
Navigate to Programs and Features:
- In the Control Panel, click on "Programs" and then "Programs and Features".
Uninstall PC Matic:
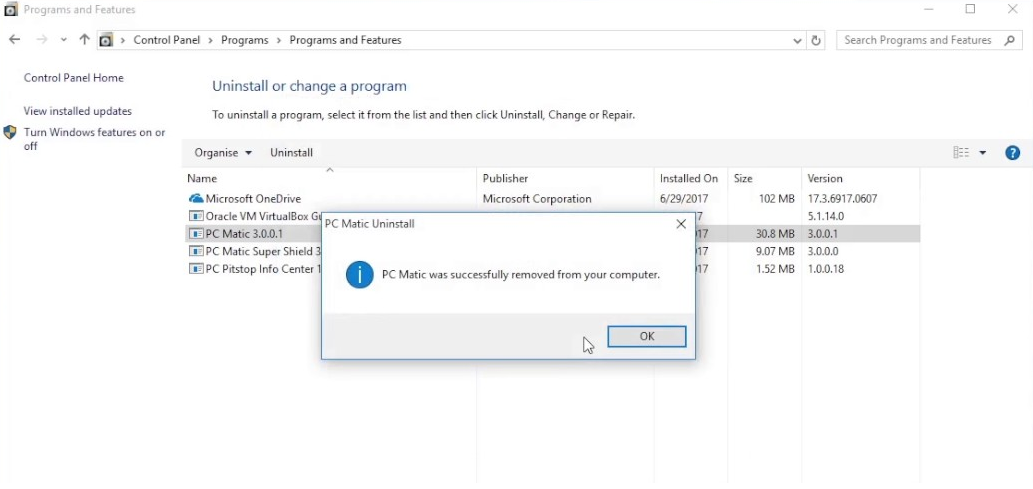
- Scroll through the list of installed programs and find "PC Matic".
- Right-click on "PC Matic" and select "Uninstall".
- Follow the on-screen prompts to complete the uninstallation process.
Step 2: Download the Latest Version of PC Matic
After uninstalling the old version, download the latest version of PC Matic from the official website:
Visit the PC Matic Website:
- Open your web browser and go to the official PC Matic website: PC Matic Download.
Download the Installer:
- On the homepage, navigate to the "Download" section.
- Click the download button to get the latest installer for PC Matic.
Step 3: Install PC Matic
Once the installer is downloaded, follow these steps to install PC Matic on your computer:
Run the Installer:
- Locate the downloaded file (usually in your "Downloads" folder).
- Double-click the file to start the installation process.
Follow Installation Prompts:
- A setup wizard will guide you through the installation.
- Accept the license agreement and choose the installation location if prompted.
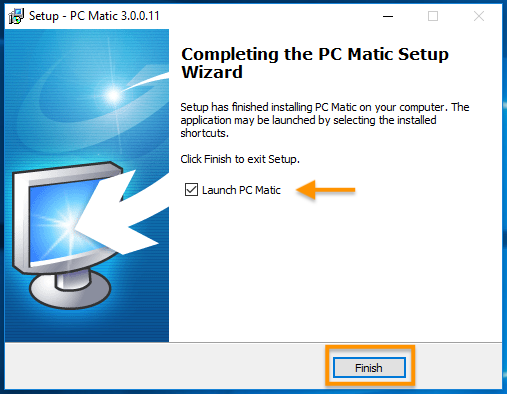
Complete the Installation:
- Click "Install" to begin the installation process.
- Once the installation is complete, click "Finish" to exit the setup wizard.
Step 4: Activate PC Matic
To use PC Matic, you need to activate it with your license key:
Open PC Matic:
- After installation, launch PC Matic from the desktop shortcut or Start menu.
Enter License Key:
- When prompted, enter your PC Matic license key.
- Follow any additional on-screen instructions to complete the activation.
Step 5: Update and Run a Scan
After activation, ensure that PC Matic is up to date and run a scan to optimize and secure your computer:
Update PC Matic:
- Open PC Matic and navigate to the "Update" section.
- Click "Check for Updates" to ensure you have the latest definitions and features.
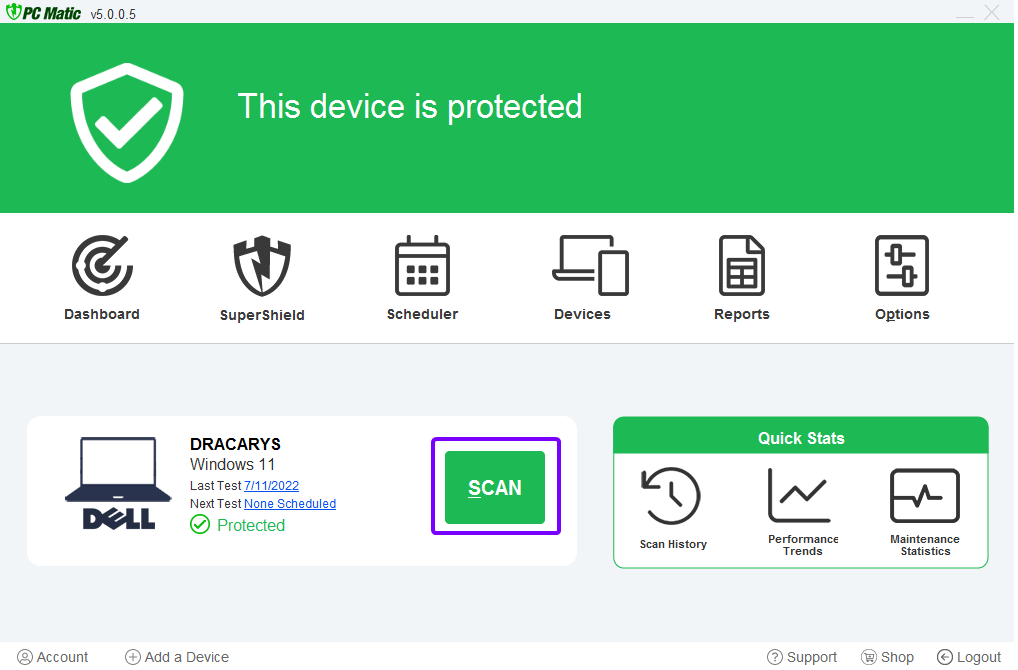
Run a Full Scan:
- Go to the "Scan" section and select "Full Scan".
- Click "Start Scan" to begin the process. PC Matic will check for malware, optimize performance, and apply necessary fixes.

Conclusion
Reinstalling PC Matic is a straightforward process that involves uninstalling the old version, downloading the latest installer, and following the setup wizard. By keeping PC Matic updated and regularly running scans, you can ensure your computer remains secure and operates at peak performance. If you encounter any issues during the reinstallation process, refer to the PC Matic support page for additional help.