
PC Matic is a popular security and optimization software designed to keep your computer safe and running efficiently. While it is well-known for its use on Windows, PC Matic also offers a version for Mac users. If you want to download and install PC Matic on your Mac, follow the steps outlined below.
Step 1: Check System Requirements

Before downloading PC Matic, ensure that your Mac meets the system requirements for the software. Generally, PC Matic requires:
- macOS 10.12 (Sierra) or later
- At least 1 GB of RAM
- 100 MB of free disk space
Step 2: Visit the PC Matic Website
To download PC Matic, you need to go to the official PC Matic website:
1. Open Your Web Browser:
- Launch Safari, Chrome, or any web browser of your choice.
2. Navigate to the PC Matic Website:
- In the address bar, type www.pcmatic.com and press Enter.
Step 3: Download the Mac Version of PC Matic

Once you are on the PC Matic website, follow these steps to download the software:
1. Locate the Download Section:
- On the homepage, find and click on the "Download" or "Get PC Matic" button. This will typically direct you to the download page.
2. Select the Mac Version:
- Ensure you are downloading the version specific to macOS. Click on the link or button to download the Mac installer.
Step 4: Install PC Matic on Your Mac
After downloading the installer, proceed with the installation:
1. Open the Downloaded File:
- Locate the downloaded file in your "Downloads" folder. The file will usually be named something like "PC Matic.dmg".
2. Mount the Disk Image:
- Double-click the .dmg file to mount the disk image. A new window will appear with the PC Matic installer.
3. Run the Installer:
- Drag the PC Matic icon to the "Applications" folder icon within the installer window. This action will copy PC Matic to your Applications folder.
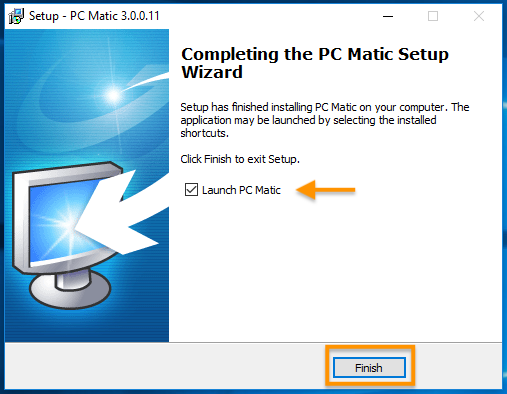
4. Launch PC Matic:
- Open the "Applications" folder and double-click the PC Matic icon to launch the software.
Step 5: Activate PC Matic
To use PC Matic, you need to activate it with your license key:
1. Enter License Key:
- When you open PC Matic for the first time, you will be prompted to enter your license key. Type in the key provided when you purchased PC Matic.
2. Complete Activation:
- Follow any additional on-screen instructions to complete the activation process.
Step 6: Update and Run a Scan
After activating PC Matic, make sure it is up to date and perform an initial scan to secure your Mac:
1. Check for Updates:
- Open PC Matic and navigate to the "Update" section. Click "Check for Updates" to ensure you have the latest definitions and features.
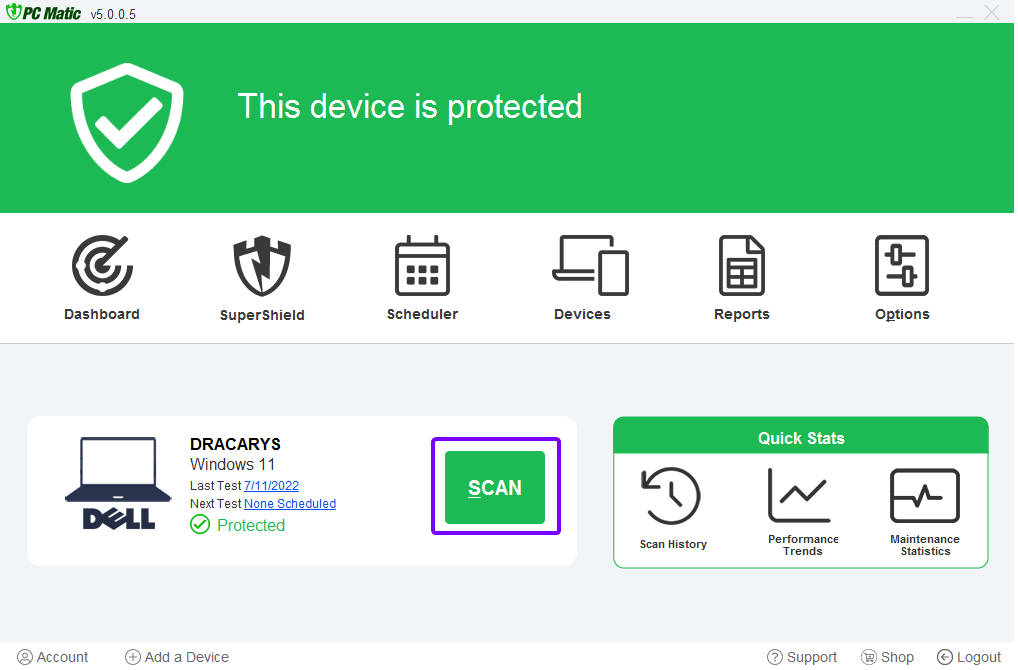
2. Run a Full Scan:
- Go to the "Scan" section and select "Full Scan". Click "Start Scan" to begin the process. PC Matic will scan for malware, optimize performance, and apply necessary fixes.
Conclusion
Downloading and installing PC Matic on your Mac is a straightforward process that enhances the security and performance of your device. By following these steps, you can ensure a smooth installation and keep your Mac running efficiently. If you encounter any issues, the PC Matic Customer support page offers additional resources and assistance.